How to Install DDEV on an Apple M1 Mac

It doesn't often happen that I'm one of the early adopters. However, after the announcement of Apple's new silicon processor, I wanted to be ahead of the game this time. Needless to say, there was hardly any compatible software at the beginning. That's why I had to work with MAMP and a local PHP installation - terribly inflexible. But now I finally managed to get Docker and DDEV up and running.
Preparation
In order to use DDEV, we first need to install Docker. Here I explain step by step how to install the latest preview version of Docker.
Install Rosetta 2
Rosetta 2 is in fact still the prerequisite to install Docker, as some binaries are based on the Darwin/ARM64 architecture. It is best to use the terminal for the installation:
$ softwareupdate --install-rosettaInstall the Most Recent Version of Xcode
In order to install DDEV, you need the latest version of Xcode and Command Line Tools. You can install Xcode directly from the App Store and it's best to update it from there as well. Caution: The installation, or an update can take a pretty long time. Even if the loading animation seems to hang, it will eventually continue.

You can also update Xcode via the terminal, but that has not worked for me. That' s how it should work, at least hypothetically:
$ softwareupdate --install xcodeHowever, you should install the command line tools directly in the terminal like this:
$ xcode-select --installInstall the Preview Version of Docker
We can now finally install Docker as well. There is currently a preview version available here, which has worked relatively smoothly for me at least so far. You should note, however, that this version does not include automatic updates. That means you will have to download and install updates yourself.
You can download the preview version of Docker here. Depending on when you read this article, a newer version may already be available. Therefore, it's best to check the documentation first.
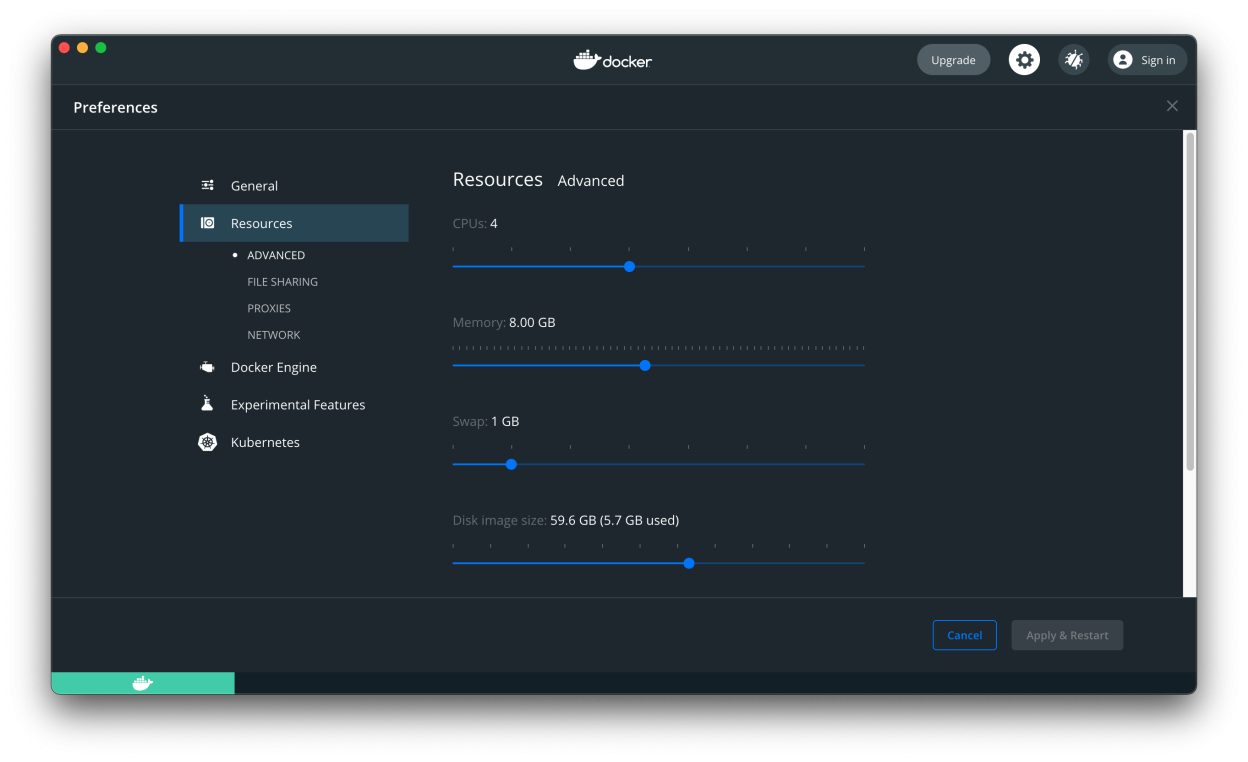
After you have (hopefully successfully) installed Docker, the first thing you should do is allocate more system resources. I usually give Docker half of my system's CPUs and half of my memory.
Install DDEV
Here you have two different options, both of which I would like to introduce. On the one hand you can install DDEV directly via Homebrew, on the other hand you can use an installation script. Only the latter one worked for me.
Option A: Installation via Script
The DDEV developers have kindly provided an installation script. You can download the latest version here.
Afterwards you call the script via the terminal:
$ bash install_ddev.shDDEV should then be installed and ready to use. You can also check this via the terminal:
$ ddev --versionOption B: Installation via Homebrew
Supposedly DDEV can also be installed directly via Homebrew. For me, however, this has always thrown errors. Nevertheless, the corresponding command is mentioned here for the sake of completeness:
$ brew install drud/ddev/ddevYou can find more and up-to-date information about the installation in the documentation of DDEV.
There are no comments yet.